
4 Methods Of Scanning Documents
4 Methods Of Scanning Documents
METHOD 1: Using Windows
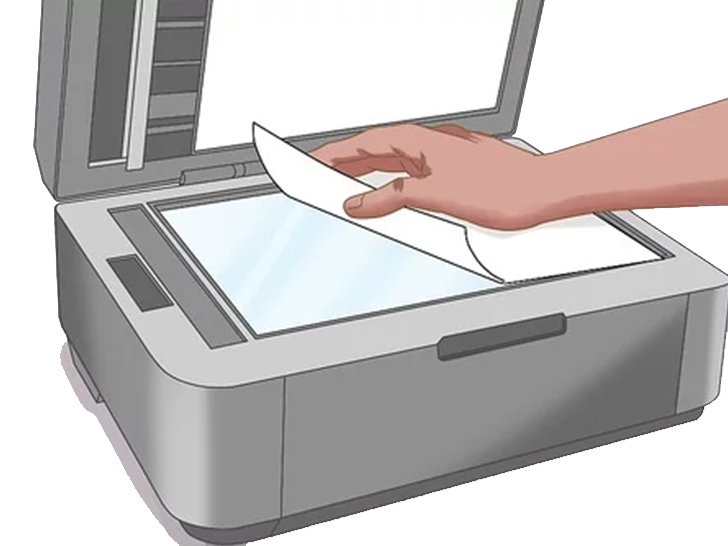
1. Place a document in your scanner face down. Before you go any further, make sure your scanner is turned on and connected to your computer.
2. Press the Start button. In the bottom-left corner side of the screen, click the Windows logo.
3. In Start, type fax and scan. The Windows Fax and Scan software will be found by doing so.
4. Select Windows Fax and Scan from the drop-down menu. It’s located at the very top of the Start menu.
5. Select New Scan from the drop-down menu. This option can be found in the Fax and Scan window’s upper-left corner. There will be a new window open.
6. Double-check that your scanner is in working order. If your scanner’s name isn’t listed at the top of the window, or if the wrong scanner is listed, click Change… in the upper-right corner of the window and pick your scanner’s name.
7. Choose a document type. Select the type of document (e.g., Photo) in the drop-down box after clicking the “Profile” drop-down box.
8. Pick a color scheme for your document. Select between Color or Black & White from the “Color format” drop-down box. It’s also possible that your scanner may have different color options.
9. Choose a file type. Click the “File type” drop-down box, then select the file type (such as PDF or JPG) to save the scanned document to your computer. It’s recommended to choose PDF when scanning anything other than a photo.
10. Make any further changes to the page’s options. You may have other options (for example, “Resolution”) that you can change before scanning your document, depending on your scanner.
11. Go to the Preview tab. It can be found near the bottom side of the window. This will bring up a preliminary scan of your scanned document to show you what it will look like.
If your document appears crooked, uneven, or cut off, reposition it in your scanner and then preview it again to see if your change fixed the problem.
12. Select Scan from the menu. It can be found near the bottom of the window. Your document will begin scanning onto your computer using the options and format you’ve chosen.
13. Locate the scanned document. To do so, follow these steps:
● Start the program.
● Open the File Explorer application.
● On the left side of the window, select Documents.
● Select the Scanned Documents folder and double-click it.
METHOD 2: Using the Mac
1. Place a document in your scanner face down. Before you go any further, make sure your scanner is turned on and connected to your computer.
2. Select Apple from the navigation bar. In the top-left corner side of the screen, click the Apple logo. There will be a drop-down menu.
3. Select System Preferences from the drop-down menu… It’s the first option in the drop-down menu.
4. Select Printers & Scanners from the drop-down menu. The right side of the System Preferences pane has a printer-shaped icon.
5. Choose a scanner. In the left-hand column, click the name of your scanner (or printer).
6. Select the Scan option. It’s located at the very top of the window.
7. Select Open Scanner… This can be found near the top of the Scan tab’s window.
8. Select Show Details from the menu. It’s in the window’s lower-right corner.
9. Choose a file format. Click the “Format” drop-down box, then select a file format (such as PDF or JPEG) to save your document. It’s recommended to choose PDF when scanning anything other than a photo.
10. Decide on a color scheme. Select a color option from the “Kind” drop-down box at the top of the page (e.g., Black and White).
11. Decide where you want to store your files. Select a folder in which you want to save your scanned document from the “Save To” drop-down box (e.g., Desktop).
12. Alter the page’s other options. You may wish to adjust the “Resolution” or “Orientation” values here depending on the type of file you’re scanning.
13. Select Scan from the menu. It’s at the window’s bottom-right corner. The scanning of your paper into your computer will begin. You’ll be able to find it in your chosen save location after it’s finished.
METHOD 3: Using the iPhone
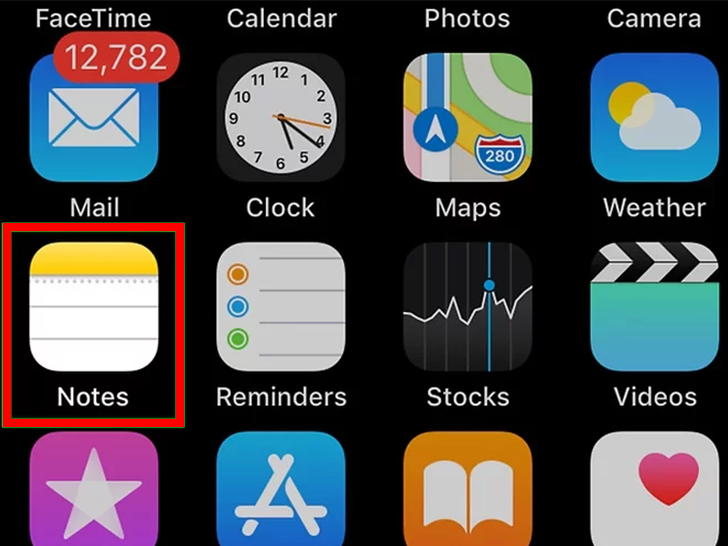
1. open Notes. Tap the icon for the Notes app.
2. Select “New Note” from the drop-down menu. It’s at the screen’s bottom right corner of the screen. If Notes opens to a note, tap the top-left corner of the screen and select Notes.
Before continuing, touch a storage location if Notes opens to the “Folders” tab.
3. Press the button. At the bottom of the screen, there is a plus-shaped icon. There will be a pop-up menu.
4. Select Scan Documents from the drop-down menu. It’s the first option on the pop-up menu.
5. Take a picture of a document with your phone’s camera. Make sure the entire document is visible on the screen.
The scan will be cleaner if the paper is centered on the screen.
6. Press and hold the “Capture” button. At the bottom of the screen, there is a white circle. Your document will be scanned as a result of this action.
7. Select Keep Scan from the drop-down menu. It’s at the screen’s bottom right corner of the screen.
● You may also tap and drag any of the spheres in the scan’s corners to enlarge or minimize the saved portion of the scan.
● Instead, tap Retake in the bottom-left corner of the screen to try scanning the page again.
8. Press the Save button. This option can be found in the screen’s bottom right corner.
9. Press the button. It’s in the screen’s top-right corner.
10. Scroll to the right and select Create PDF. Make sure you’re scrolling through the bottom row of selections, not the top row.
11. Press the Done button. It’s in the screen’s upper left corner.
12. Make a backup of your scanned document. When prompted, tap Save File To…, then do the following:
● Select iCloud Drive or another cloud storage option from the drop-down menu.
● In the top-right corner of the screen, tap Add.
METHOD 4: Using an Android
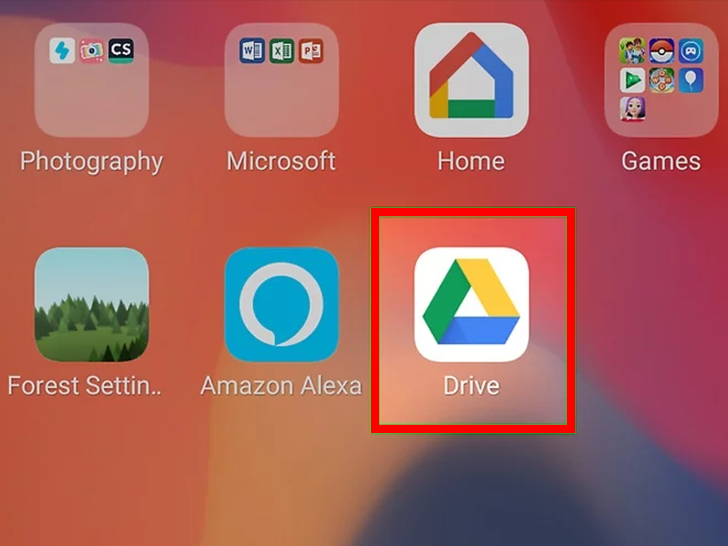
1. Go to Google Drive and sign in. The Google Drive app icon, which looks like a blue, green, and yellow triangle, should be selected.
2. Choose a folder. Select a folder where you want to save your scan.
3. Press the + button. It’s at the screen’s bottom right corner. There will be a pop-up menu.
4. Select Scan. The pop-up menu contains this camera-shaped icon. The camera on your phone (or tablet) will open.
5. Take a picture of a document with your phone’s camera. The document should be at the center of the screen, centered. Before continuing, make sure your document is flat and completely on-screen.
6. Press and hold the “Capture” button. At the bottom of the screen, there’s a blue and white circle. Your document will be scanned as a result of this.
7. Press the. This can be seen in the screen’s bottom right corner. This will store your scan.
● Cropping your scan is also possible by tapping and dragging any of the spheres around the scan’s edge.
● Tap in the top-right corner of the screen for further options (such as color).
● Tap + and then scan another item to add extra pages to the PDF.
8. Take a picture of your scanned document and save it to your phone. In the following pop-up menu, press Download in the bottom-right corner of the scanned document’s thumbnail.